Laminate is a good combination of strength, noble appearance, naturalness and attractive prices.
This flooring is now given the best consumer qualities:
- abrasion resistance;
- variety of colors and textures;
- resistance to moisture;
- Extreme ease of installation.
These properties explain its popularity. Laminate flooring can be seen in bedrooms and living rooms, in children's rooms and hallways, in kitchens and in public places. A floor covering made of pressed boards is easy to clean and easy to repair.
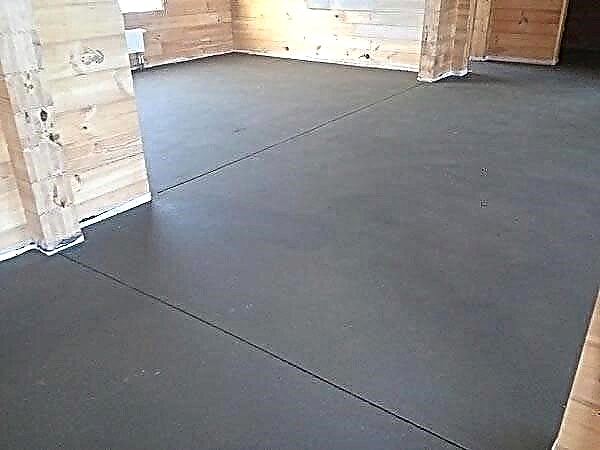
The installation process begins with preparing the subfloor
The flat surface of the subfloor is as important as the quality of the flooring. Roughnesses on the floor will significantly shorten the life of the laminate, reduce the soundproofing properties of the coating, obvious defects will catch the eye, giving the room an untidy look. Slots in the tongue-and-groove system lead to gradual soaking, bulging of the edges, damage to the material.

To level the floor under the laminate, which has significant irregularities, use a cement screed or pressed chipboards, plywood. If the subfloor is sufficiently even and strong, after the audit it is thoroughly dusted off, pebbles, chips are removed, and the dried irregularities are cleaned of paint or varnish. Slots greater than 5 mm are sealed with putty.
Material preparation
The packaging with the laminate in the room is opened and gives the material the opportunity to adapt to the temperature regime, humidity level. During adaptation, the panels are laid out horizontally in stacks in the center of the room. You can start laying in 1-2 days.

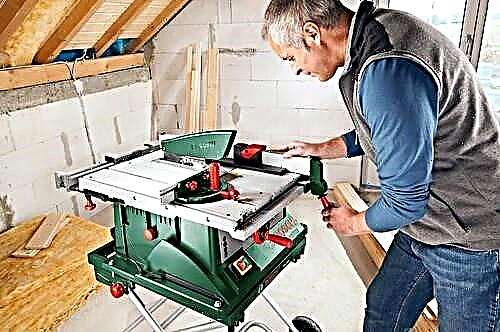
Styling tools:
- saw with a small tooth (for sawing off a laminate), it is good if there is a jigsaw;
- mallet;
- clamp-clamp, spacer wedges;
- stationery knife, tape, ruler, tape measure, marker.
We set it right
A sheet or roll substrate is laid on the prepared floor surface. Joints of the material are glued with tape. To avoid the appearance of bumps, even a minimal overlap is not allowed. The smoother the rough floor, the thinner the backing can be.

The starting row of boards is laid parallel to the wall, observing a spacing of 3-5 mm from it. To keep the distance between the boards and the wall, spacer wedges are laid in the gap. In the transverse connection, the boards are joined very tightly without gaps and crevices. With the help of a mallet, fit, lightly tapping. In order not to spoil the board, they do not touch it with a mallet, but knock on the damper bar. A completely smooth flooring is obtained thanks to the tongue-and-groove system from all four sides.
This type of installation is called tongue-and-groove, it is simple, but leaves the ends relatively unprotected. If you apply the adhesive method, it will provide additional moisture protection to the moisture-sensitive coating. To install the laminate in an adhesive way, you will have to resort to the help of professionals.

Moving to the second row, first connect the ends of the boards, then push the finished row close to the starting line, so that the comb fell into the groove, and adjust it with a mallet. Spacer wedges are also needed near the wall from the end of the row. The last board in a row has to be cut, having previously carefully measured it. In this sequence, subject to the expansion of the seams, the entire floor surface is filled.
The most laborious is the last row. To fit it, use a clamp-clamp or nail clipper, the panels often have to be cut lengthwise.
To cover all the protrusions on the walls, mark the board with a marker and cut corners and other irregularities. In places of fillets for pipes it is convenient to use a jigsaw.
Styling methods
The correct classic installation scheme is to lay the laminate in the direction of the rays of light falling from the window. So the light strips will not “cling” to the joints, the floor will look like a continuous smooth canvas.
But the possibilities that decorators give a laminate allow you to step back from this rule and place the boards diagonally, or by forming an intricate pattern on the floor. By shifting the boards of one row relative to the neighboring ones in a certain order, repeating in two or three rows, you can get a very decorative effect.


The classic laying pattern is waste-free: the part cut off from the board in one row is useful in the following. The diagonal layout and the formation of a repeating pattern look nontrivial, but generate more waste. The amount of laminate needed is greatly increased.
We bring to your attention a master class: An informative video tutorial on laying a laminate with your own hands, in which you will see the technology of preparation and proper installation of the coating, as well as typical errors that occur during operation.